TP-Link Smart Plugs: Homebridge Plugin
Introduction
There are quite a few smart plugs on the market, all offering much the same functionality—the ability to turn a plug off and on. With summer around the corner, I wanted to automate a desk fan so that I can keep cool when going to bed, whilst not wasting electricity leaving it on all night.
When I began researching HomeKit plugs, I was disappointed—most of the plugs I found were US only, and the few UK sockets I found were all from brands I’ve never heard of. The only exception was the Eve Energy plug, but at £44.95, it was far too much to spend on a single plug.
After the initial disappointment, I looked at what was on offer within the Homebridge realm and was not disappointed. After looking at a few different plugs, I found TP-Links’ HS series plugs. These fit my needs perfectly and already have a Homebridge plugin.
The TP-Link smart plugs only cost around £20 each—which is far better than the £44.95 Eve Energy plug. As I’ve already got Homebridge setup, adding another plugin was going to be simple!
Setting up the Plugs
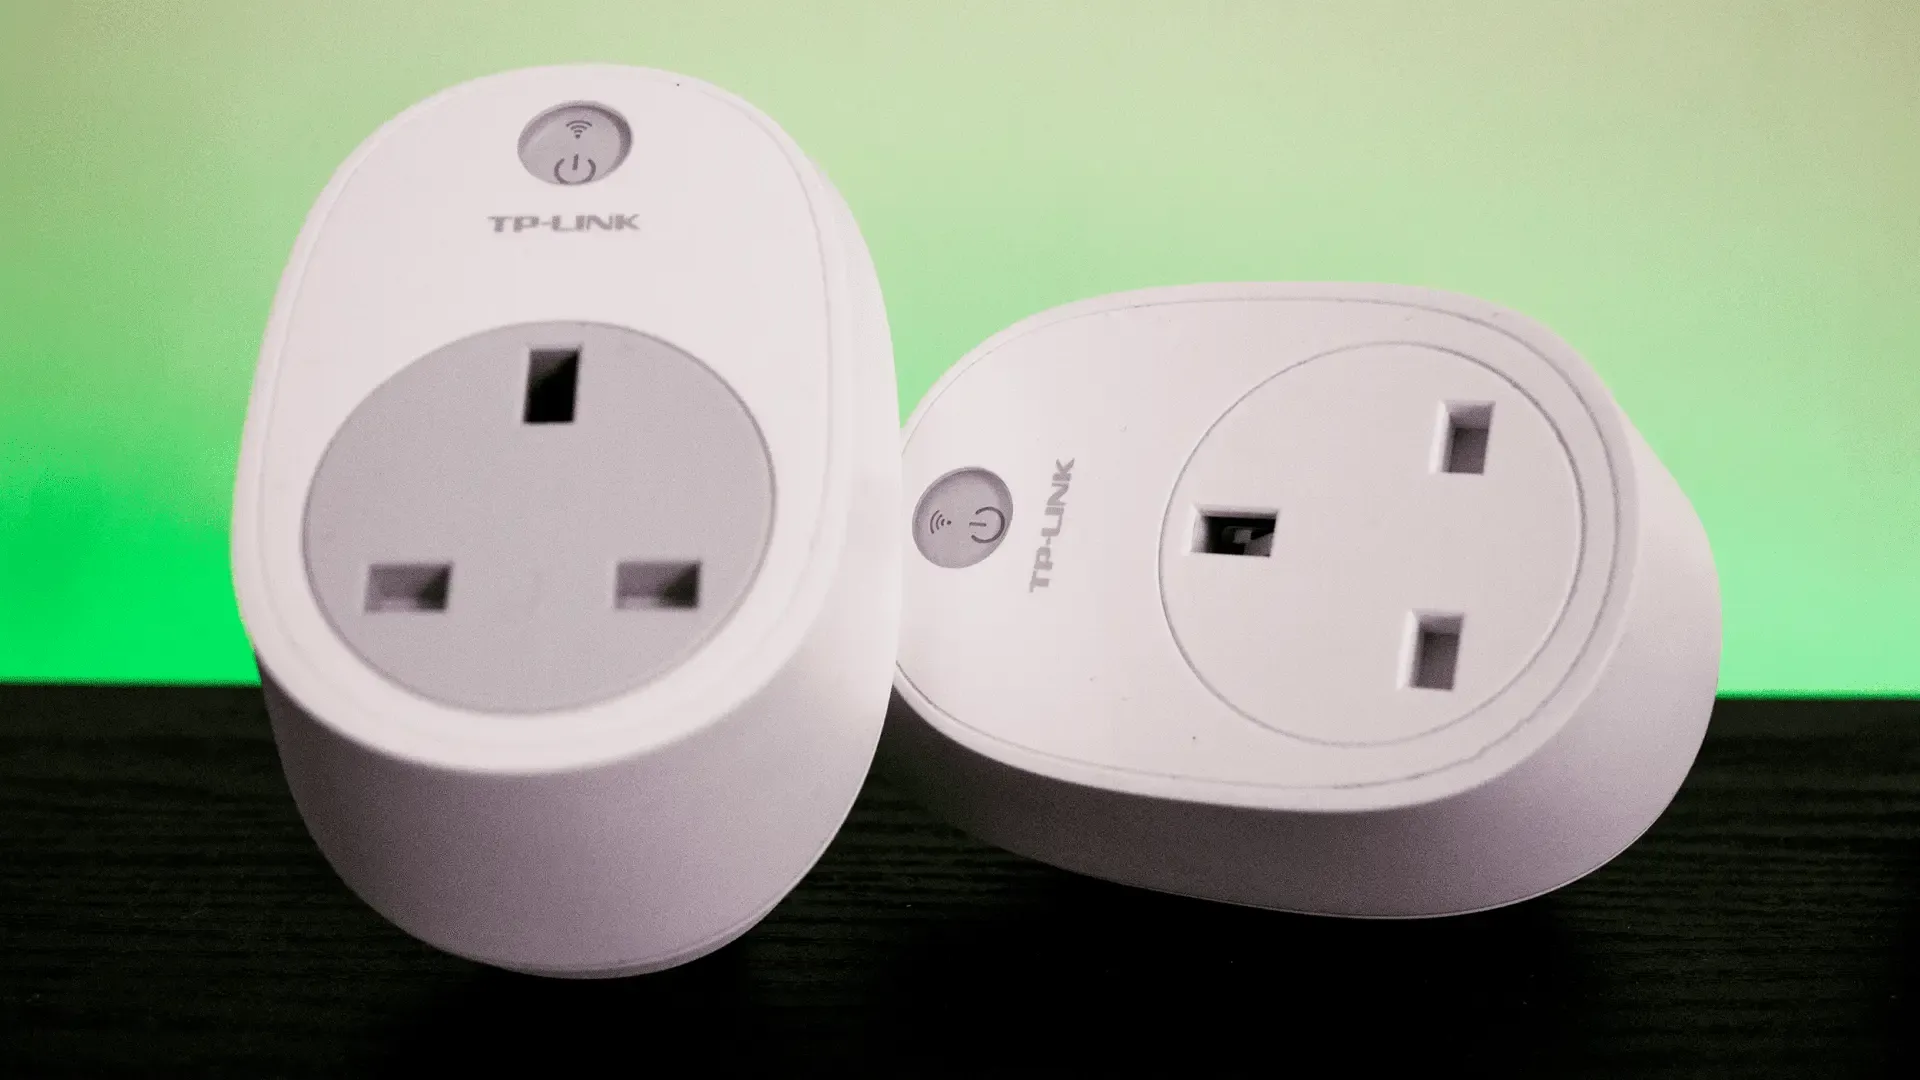
When I first got the TP-Link plug, it impressed me. Annoyingly, you can’t plug them in next to each other because of their shape, but they do have an ON/OFF button on the plug, which is nice.
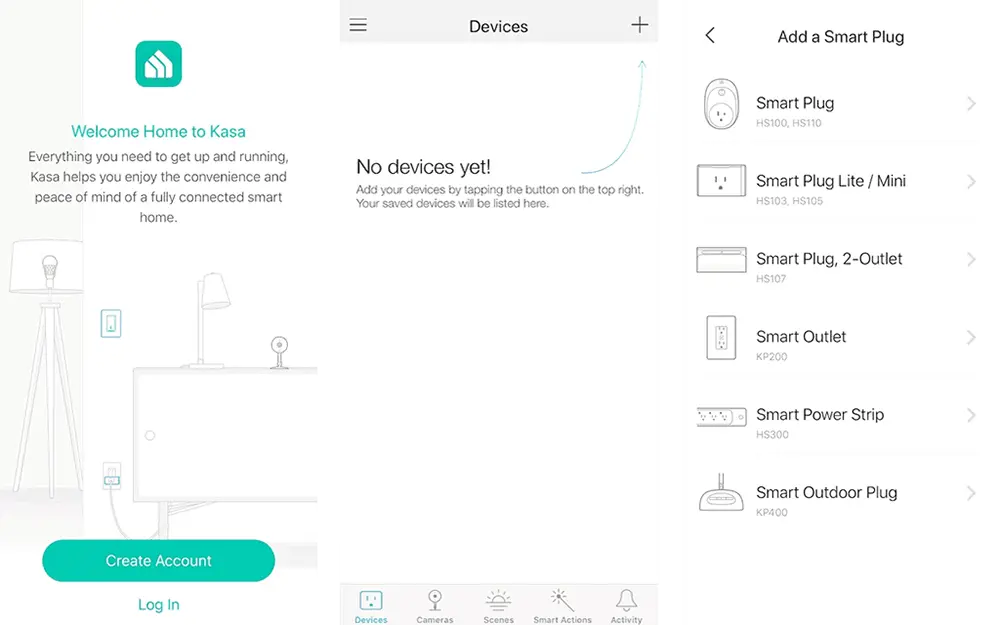
The plug came with straightforward instructions. All you need to do is download the TP-Link Kasa app (App Store/Google Play) and create an account. The app does an excellent job of guiding you through the setup. As we’re using Homebridge/HomeKit, we won’t need the app for automation, only to update and add new plugs.
Homebridge Setup
Whilst the Kasa app is nice, using the native app was never the end goal for this project. If you’ve read my previous guides, you know my mission is to have everything exposed to HomeKit. The homebridge-tplink-smarthome plugin works extremely well. The plugin also supports TP-Link’s range of smart bulbs too—which is pretty neat!
To install the plugin, you’ll first want to type the below command:
sudo npm install -g homebridge-tplink-smarthomeOnce you’ve installed the plugin, you can then configure it. To add this plugin to your Homebridge system you’ll want to add the following to your config.json:
"platforms": [{
    "platform": "TplinkSmarthome",
    "name": "TplinkSmarthome"
}]
Adding this to the config will give you full control of your TP-Link smart plugs, adding all connected plugs automatically. HomeKit also allows you to change the device type, so you can set it up to appear as a fan instead of a plug socket.

Additional Parameters
For most use cases, the above config will do everything you need. But, there are several optional parameters to add or change the functionality of these smart plugs. Some only working with plugs that support energy monitoring—such as the HS110 plug.
“addCustomCharacteristics”: true, //Allows the energy monitoring to be viewed within the Eve app (Only works with HS110).
“inUseThreshhold”: 0, //Measured in Watts, set the flag that changes the Outlet In Use tag to true (Only works with HS110).
“switchModels”: [“HS100”, “HS110”], //Creates a Switch appose to an Outlet for the models specified in HomeKit.
“timeout”: 10, //Measured in Seconds, sets the time for communication timeout.
The only additional parameter that I use is the inUseThreshhold to see when my Washing Machine finished. You can’t use this as an automation flag, but it’s still a useful feature. To include any of these parameters, simply add the line to your config.json underneath the ‘name’ line, excluding the description after the // in the above.
Overall, installing these smart plugs was easy to set up and I highly recommend them to anyone looking for ‘HomeKit’ smart plugs! If you have questions about these smart plugs, drop a comment below and I’ll be more than happy to answer them.
Featured Equipment
As an Amazon Associate, TechTrail earns from qualifying purchases made with some store links.